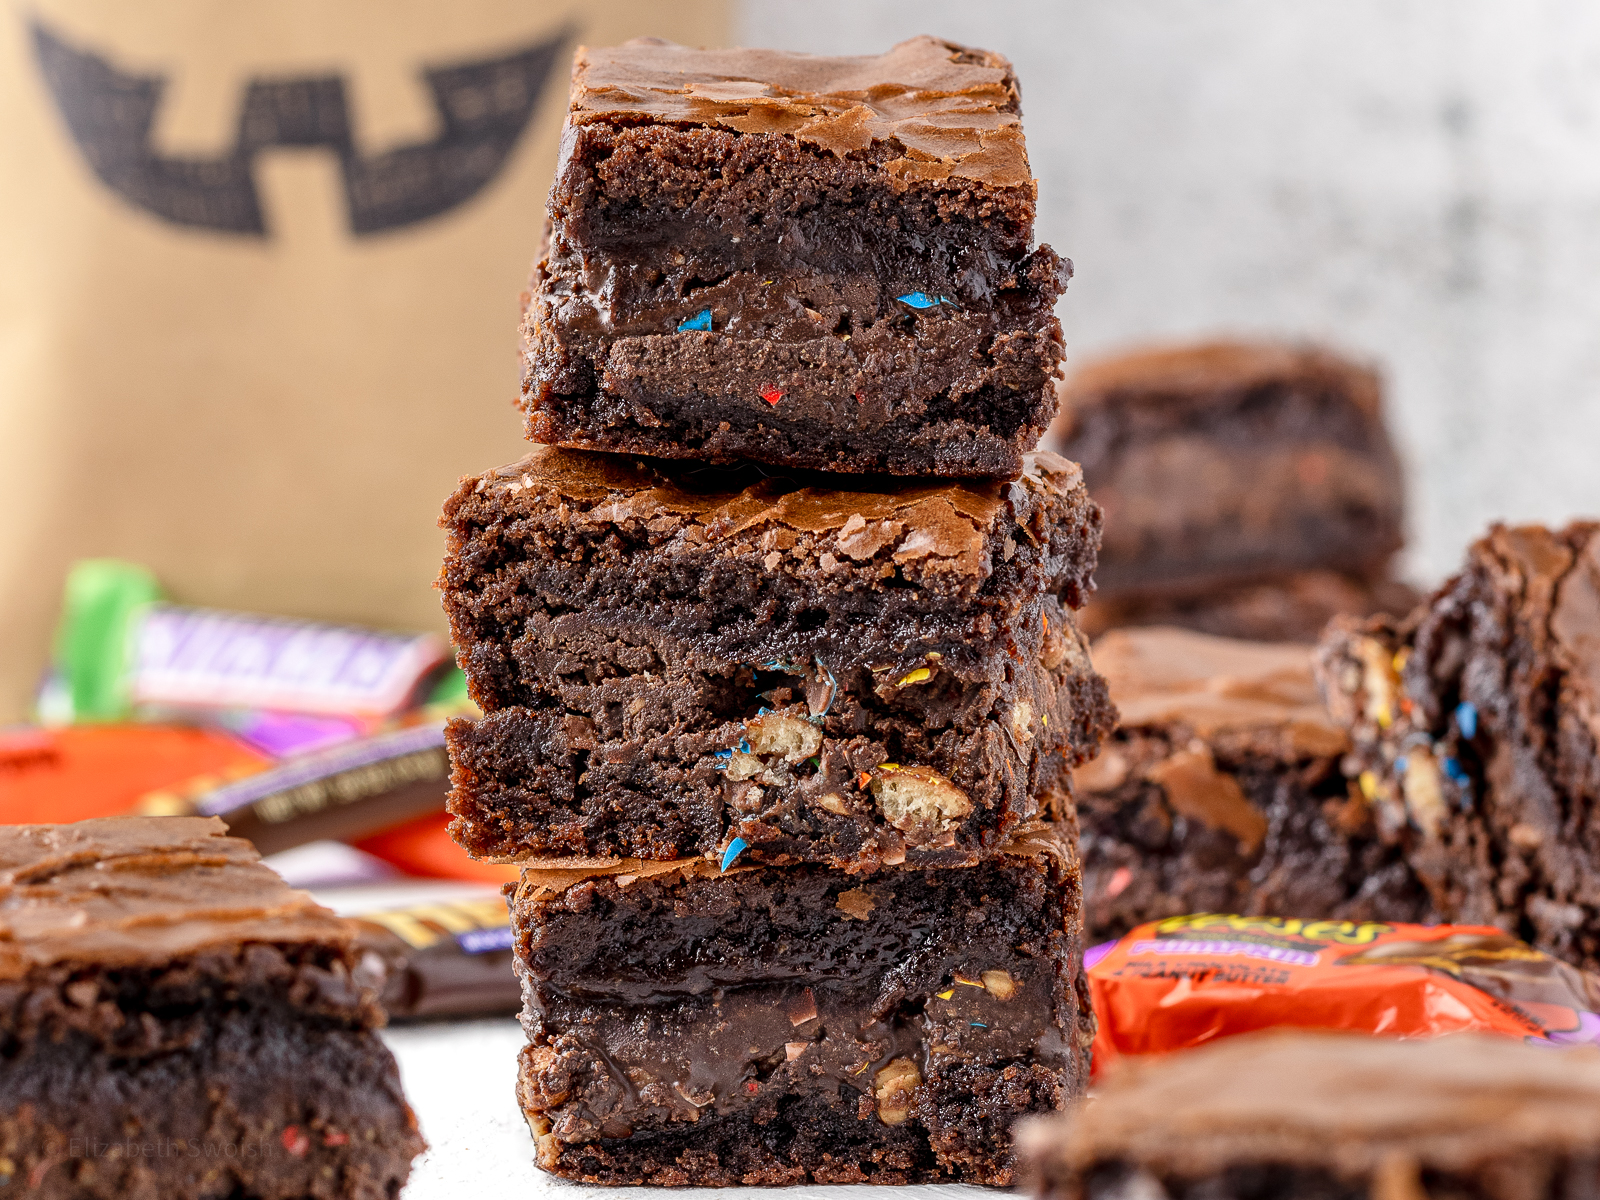
These easy to make Halloween Candy Brownies are the perfect way to repurpose leftover chocolate treats into something new!
Simply layer brownie batter with melted down Halloween candies and bake. It creates the best chewy and chocolatey candy stuffed brownies.
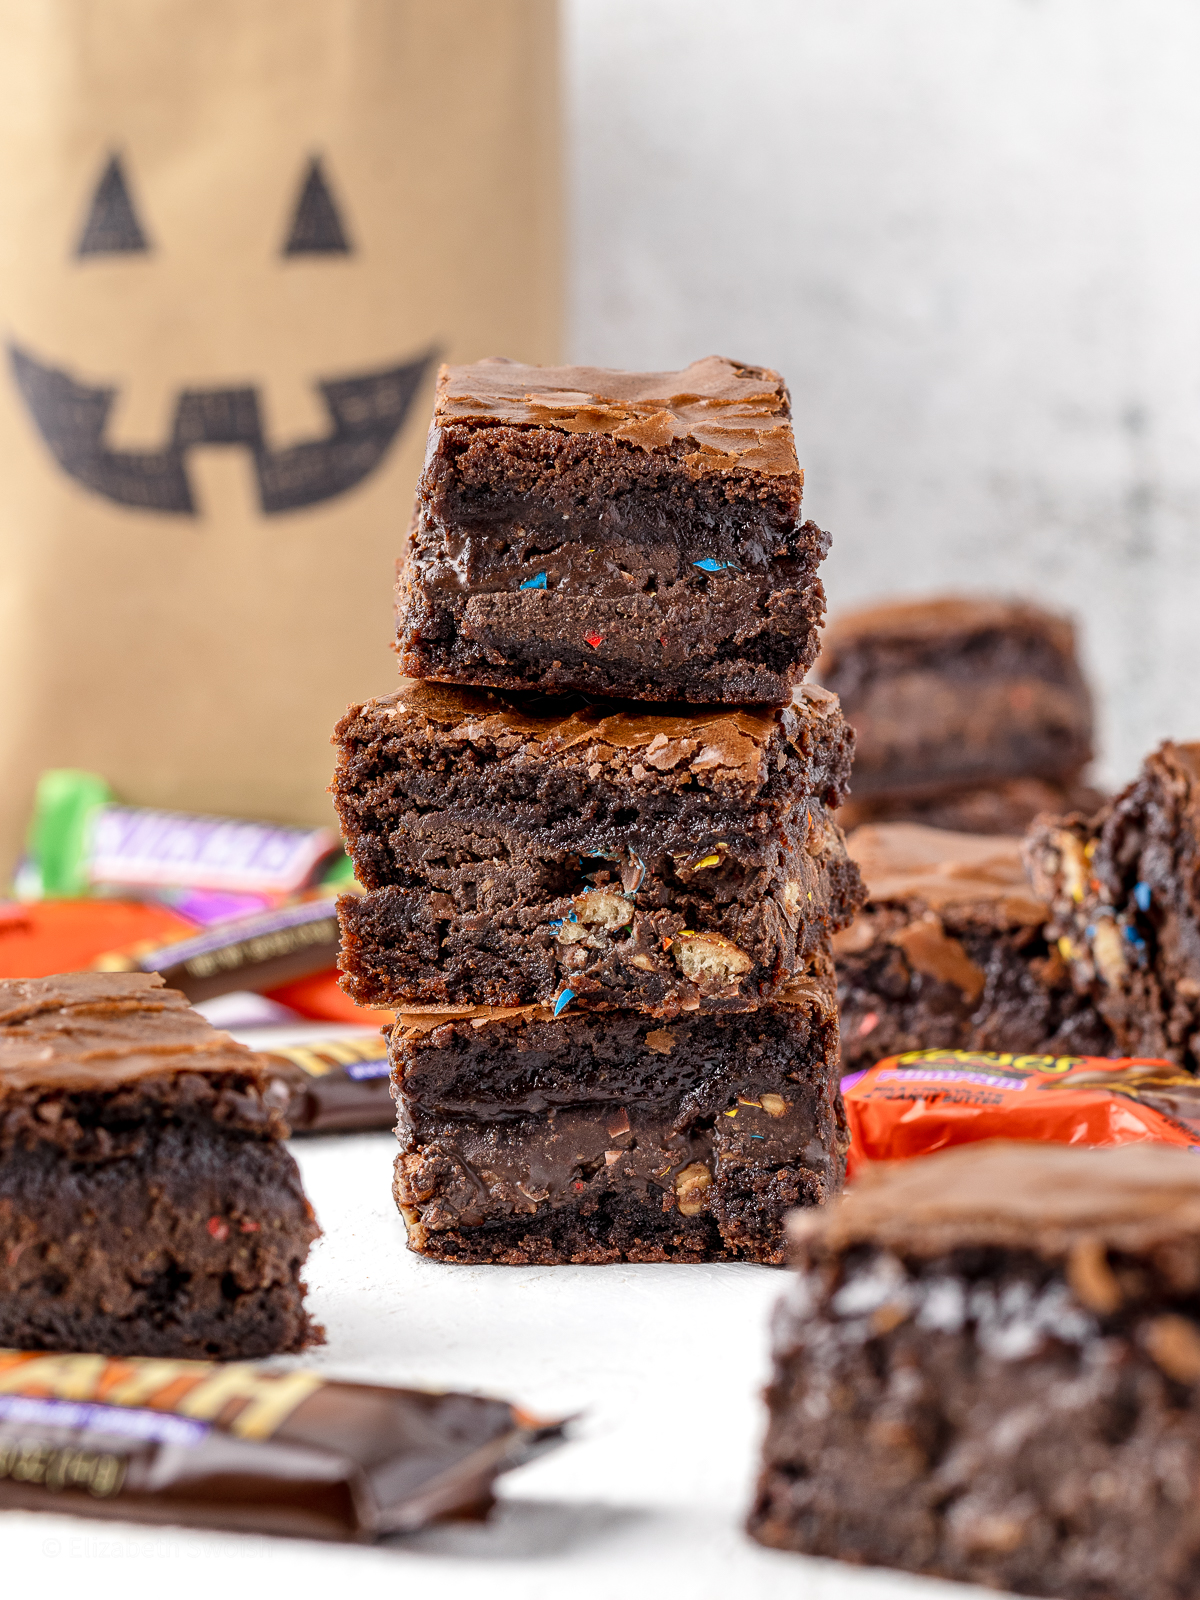
This year was disappointing. We had snow, it was super cold, and I only had a handful of trick-or-treaters. The amount of candy I had leftover was too much for me to eat on my own (sad right?!).
So, I came up with this unique and genius way (in my humble opinion) for repurposing leftover Halloween candy. It is a layer of melted chocolate based candies stuffed in between two layers of brownie. They are easy to make, super fudgy, and oh so chocolatey. Let’s make them!
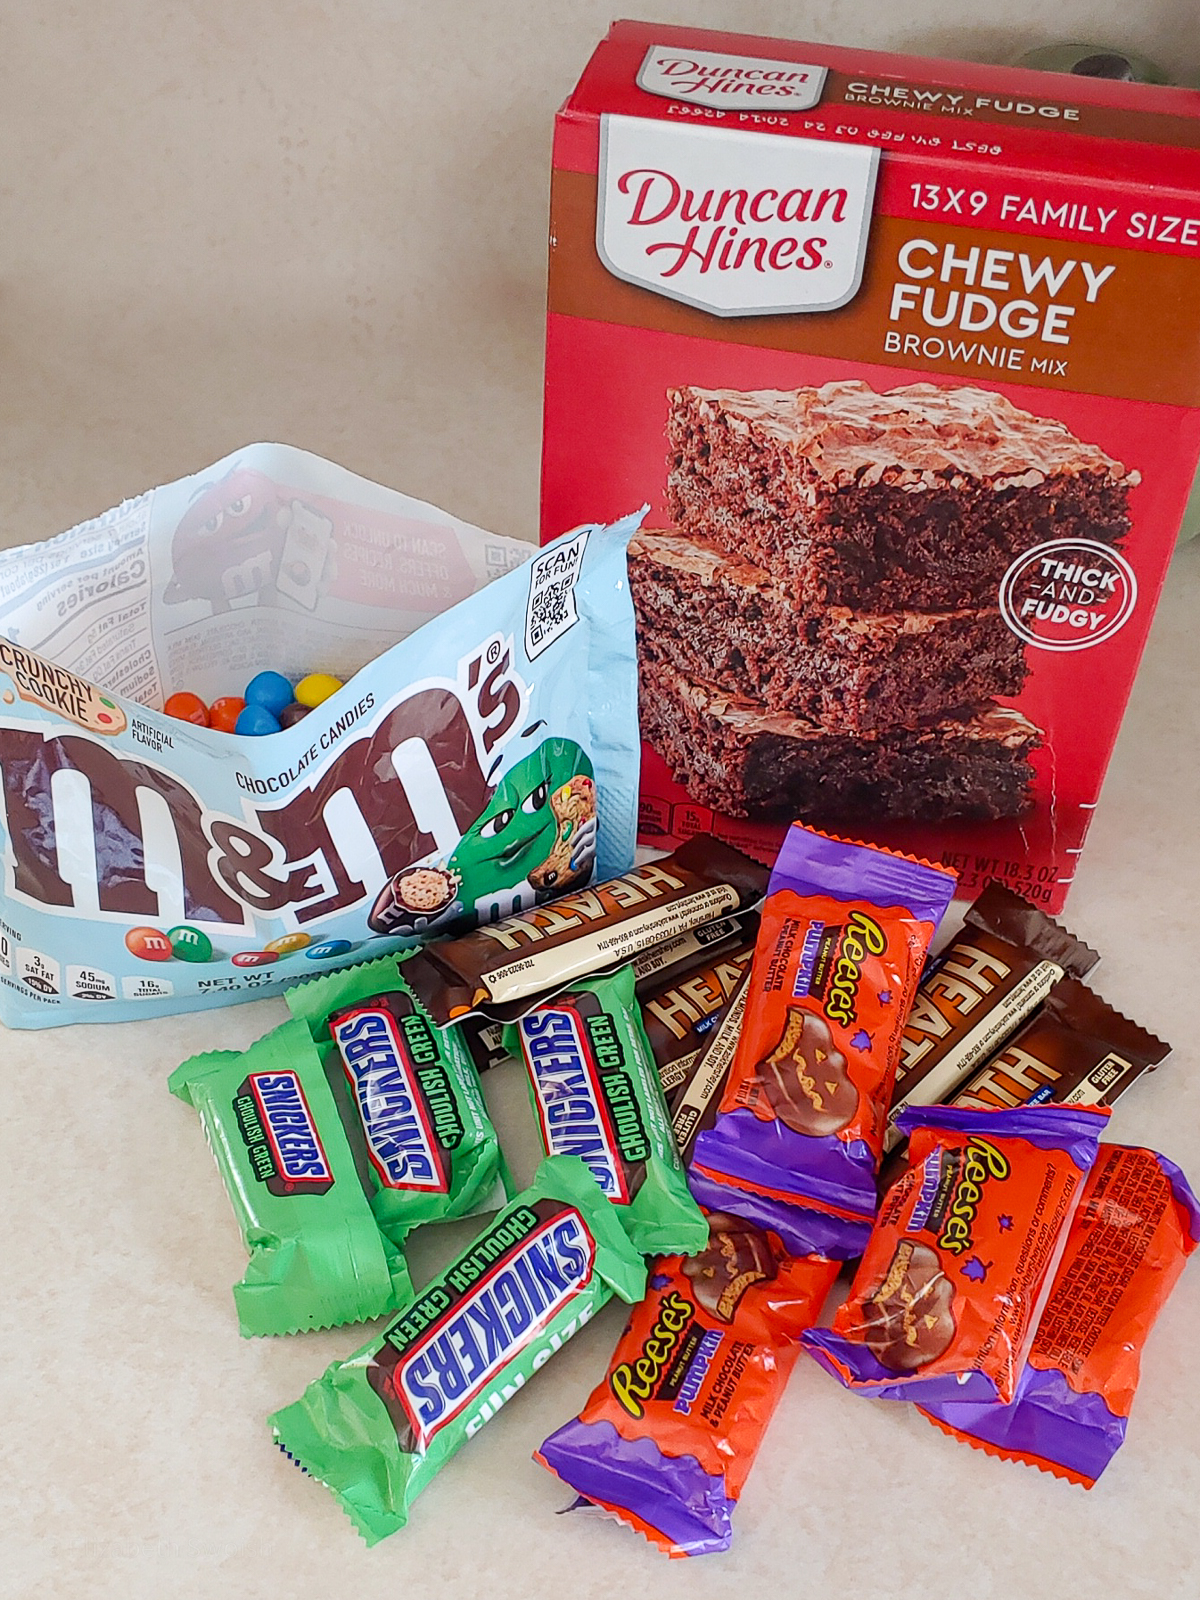
Ingredients For Halloween Candy Brownies
NOTE: If you do not have the full amount of candy needed you can use chocolate chips or chopped bars of chocolate to make it up.
Equipment You Will Need
- Bowl and whisk for mixing together the brownie batter.
- Square 8×8 baking pan prepared with waxed paper, parchment paper, and non-stick cooking spray. I love this one from USA pan!
- Double Boiler for melting down the Halloween candy. I have a vintage Pyrex from my mom that I love but the metal double boilers are great for melting down chocolate as well. If you do not have a double boiler you can make your own by setting a heat safe bowl over top of a saucepot (don’t forget to put water in the bottom pot).
How to Make Halloween Candy Brownies
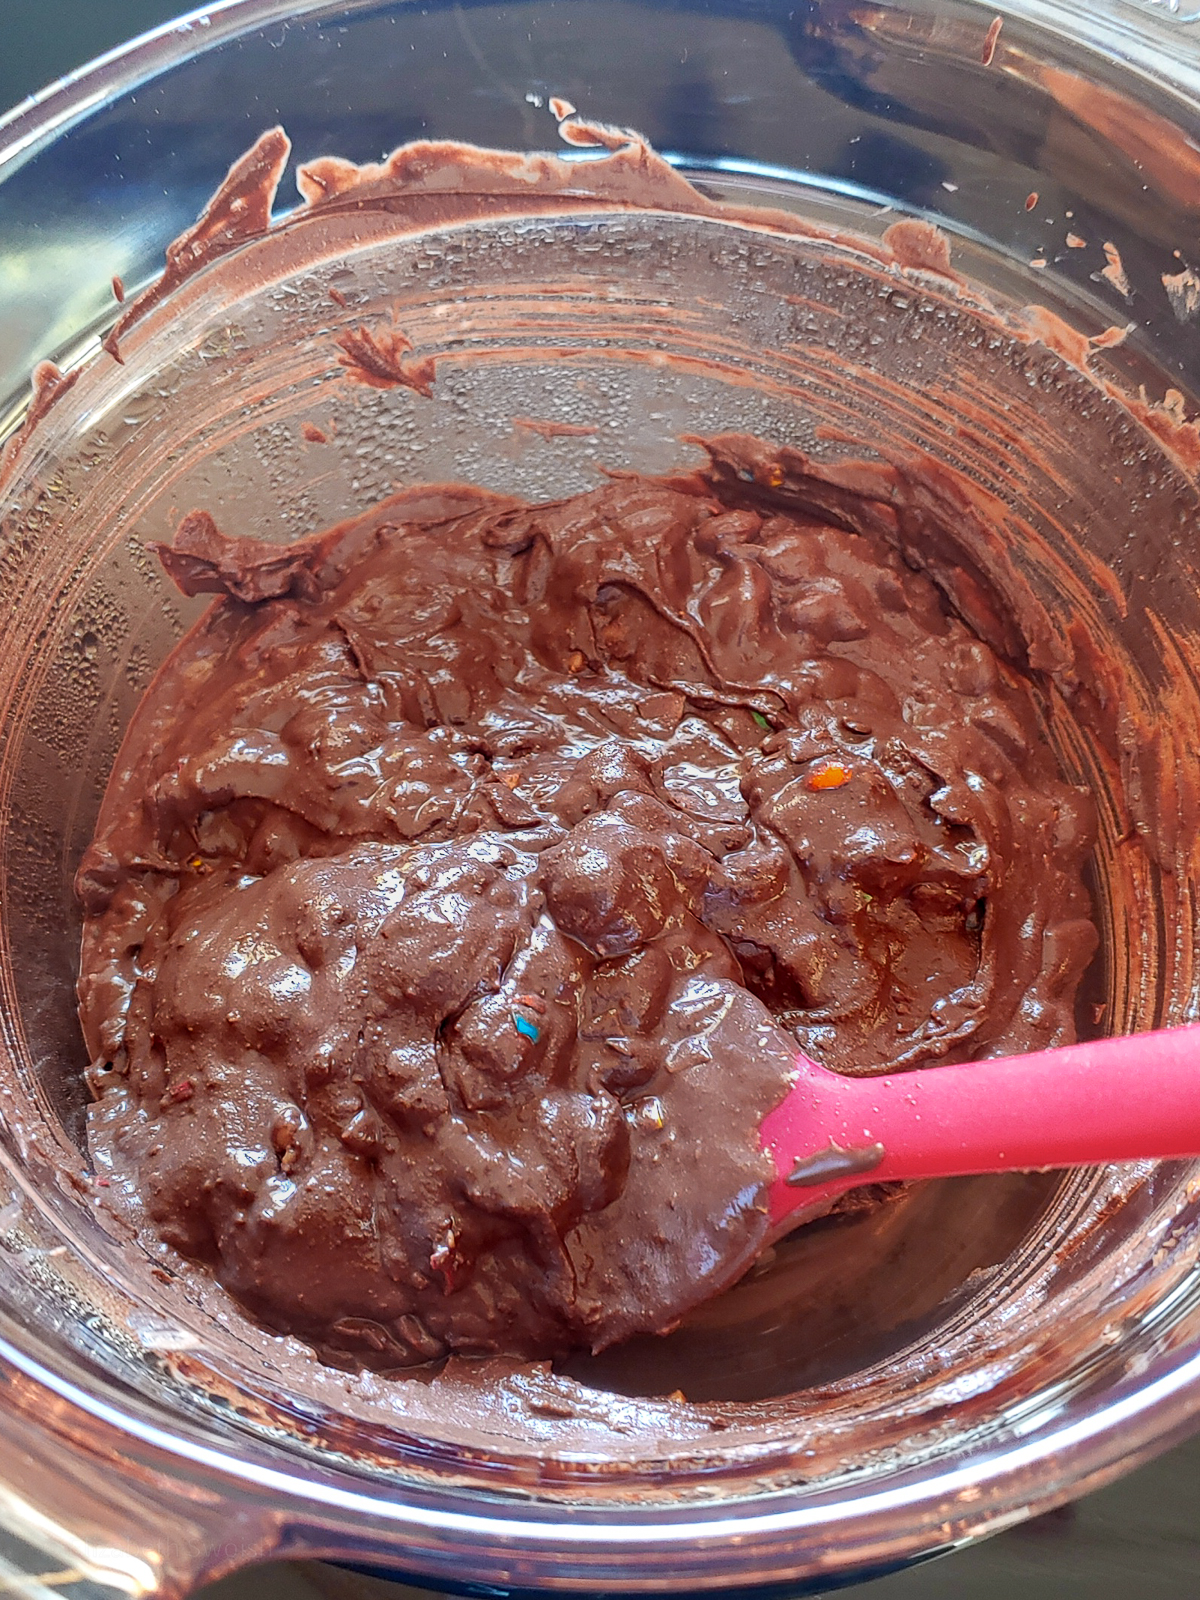
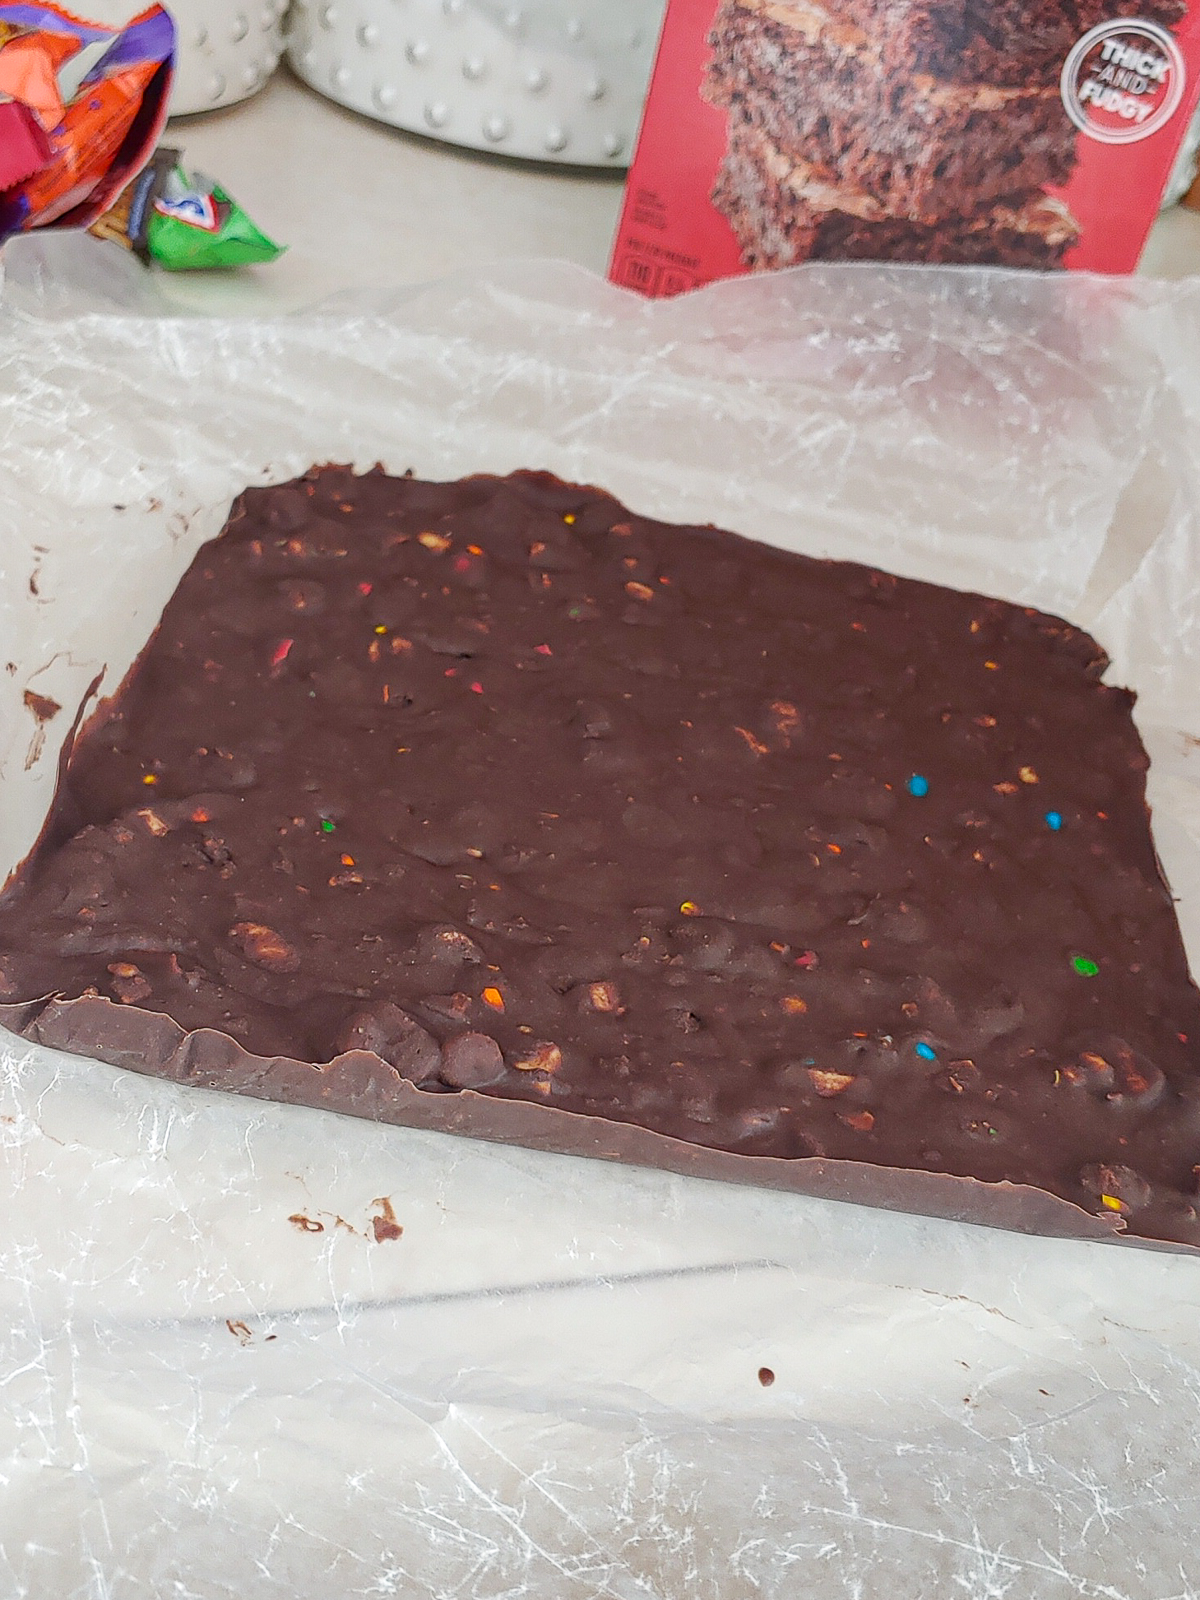
1. Make the leftover Halloween candy layer. It’s simple, all you have to do is melt the candy over a double boiler, pour it into a baking pan, and then freeze until solid.
2. Whip up the brownie batter according to the package instructions.
3. Layer half of the brownie batter, frozen leftover candy layer, then the remaining brownie batter.
4. Bake for 45 to 55 minutes. Allow the brownies to cool completely before cutting into 12 slices.
Storing Leftover Brownies
If you have any leftover brownies, store them in an airtight container or reusable bag. At room temperature they will last for up to 7 days, in the refrigerator for up to 2 weeks, and in the freezer up to 3 months. To easily warm them back up, pop them in the microwave for a few seconds.
3 Tips You Need To Read
2. Never use your microwave to melt down the candy. It can be tempting, but don’t! Microwaves do not distribute heat well and tend to be too hot. It will scorch the chocolate and unevenly melts it. A double boiler is the way to go because you avoid all of these issues.
3. Choose chocolate candies with different textures. I recommend Snickers, Reese’s, Heath bars, mini Hershey’s milk chocolate bars, Milky Ways, and a variety of M&Ms (peanut, crunchy cookie, and plain).
Frequently Asked Questions About Halloween Candy Brownies
More Brownie Recipes To Try:

Halloween Candy Brownies
EQUIPMENT
- double boiler - I use a vintage glass Pyrex but like this metal one too
INGREDIENTS
- 1 18.3 ounce boxed brownie mix - I use Duncan Hines
- 2 ½ cups Halloween candy - anything chocolate based – Snickers, Reese’s, Heath bars, mini Hershey’s milk chocolate bars, Milky Ways, or a variety of M&Ms (peanut, crunchy cookie, and plain).
INSTRUCTIONS
- Line an 8×8 inch baking pan with waxed paper and place in the freezer.
- Fill the bottom pot of the double boiler with 1 to 2 inches of water (the water should not be touching the bottom of the top bowl). Bring water to a boil.
- Roughly chop the leftover Halloween candy into small chunks and place in top bowl of the double boiler. Reduce heat to medium low.
- Allow the candy to melt down completely while stirring frequently, this takes about 15 minutes.NOTE: You will have some texture from the non-chocolate parts of the candy that cannot melt down- nuts, cookie, wafer, etc.
- Pour fully melted candy mixture into the cold, prepared 8×8 baking pan. Freeze until solid, this takes about 30 minutes.
- Preheat oven to 350 °F and center the oven rack.
- Prepare the brownie mix as specified on the back of the box and set aside.
- Remove the frozen candy layer from the baking pan and set aside.
- Prepare the same 8×8 inch baking pan with parchment paper and a light coat of non-stick cooking spray.
- Spread half of the brownie batter into the prepared baking pan.
- Carefully remove frozen candy layer from the waxed paper and place on top of the brownie batter.NOTE: Do not squash the frozen candy layer down (it will affect the texture of the bottom brownie), it should lightly rest on top of the brownie batter.
- Top with remaining brownie batter and bake for 45 to 55 minutes.NOTE: They are done baking when an inserted toothpick (in the center of the brownies) comes out with a few moist crumbs.
- Allow them to cool completely before cutting into 12 equal slices and enjoying.
RECIPE NOTES
Storing Information:
- At room temperature, in an airtight container or reusable bag, for up to 7 days.
- In the refrigerator, in an airtight container or reusable bag, for up to 2 weeks.
- In the freezer, in an airtight container or reusable bag, for up to 3 months.
Metric conversions are calculated automatically. I cannot guarantee the accuracy of this information.



This is perfect! I was looking for something to repurpose my chocolates coz I really have a bunch of leftovers here (snickers and M&Ms to be exact). So, I followed your recipe and the result turned out greaat, I love the chewiness the most. Thank you for this 🙂
I generally don’t bake things, but boxed brownies and candy are a combo I was able to manage. My kids were generous enough to donate part of their stash to make this happen. They have no regrets!
These Halloween Candy Brownies were an absolute hit at our Halloween party. The kids definitely got a treat! So chewy and tasty! Thanks!
Genius use of all the extra Halloween candy. These fudgy brownies were quite irresistible. Thanks for sharing the recipe!
My kids loved making these brownies after Halloween. It’s a fun way to repurpose leftover candy