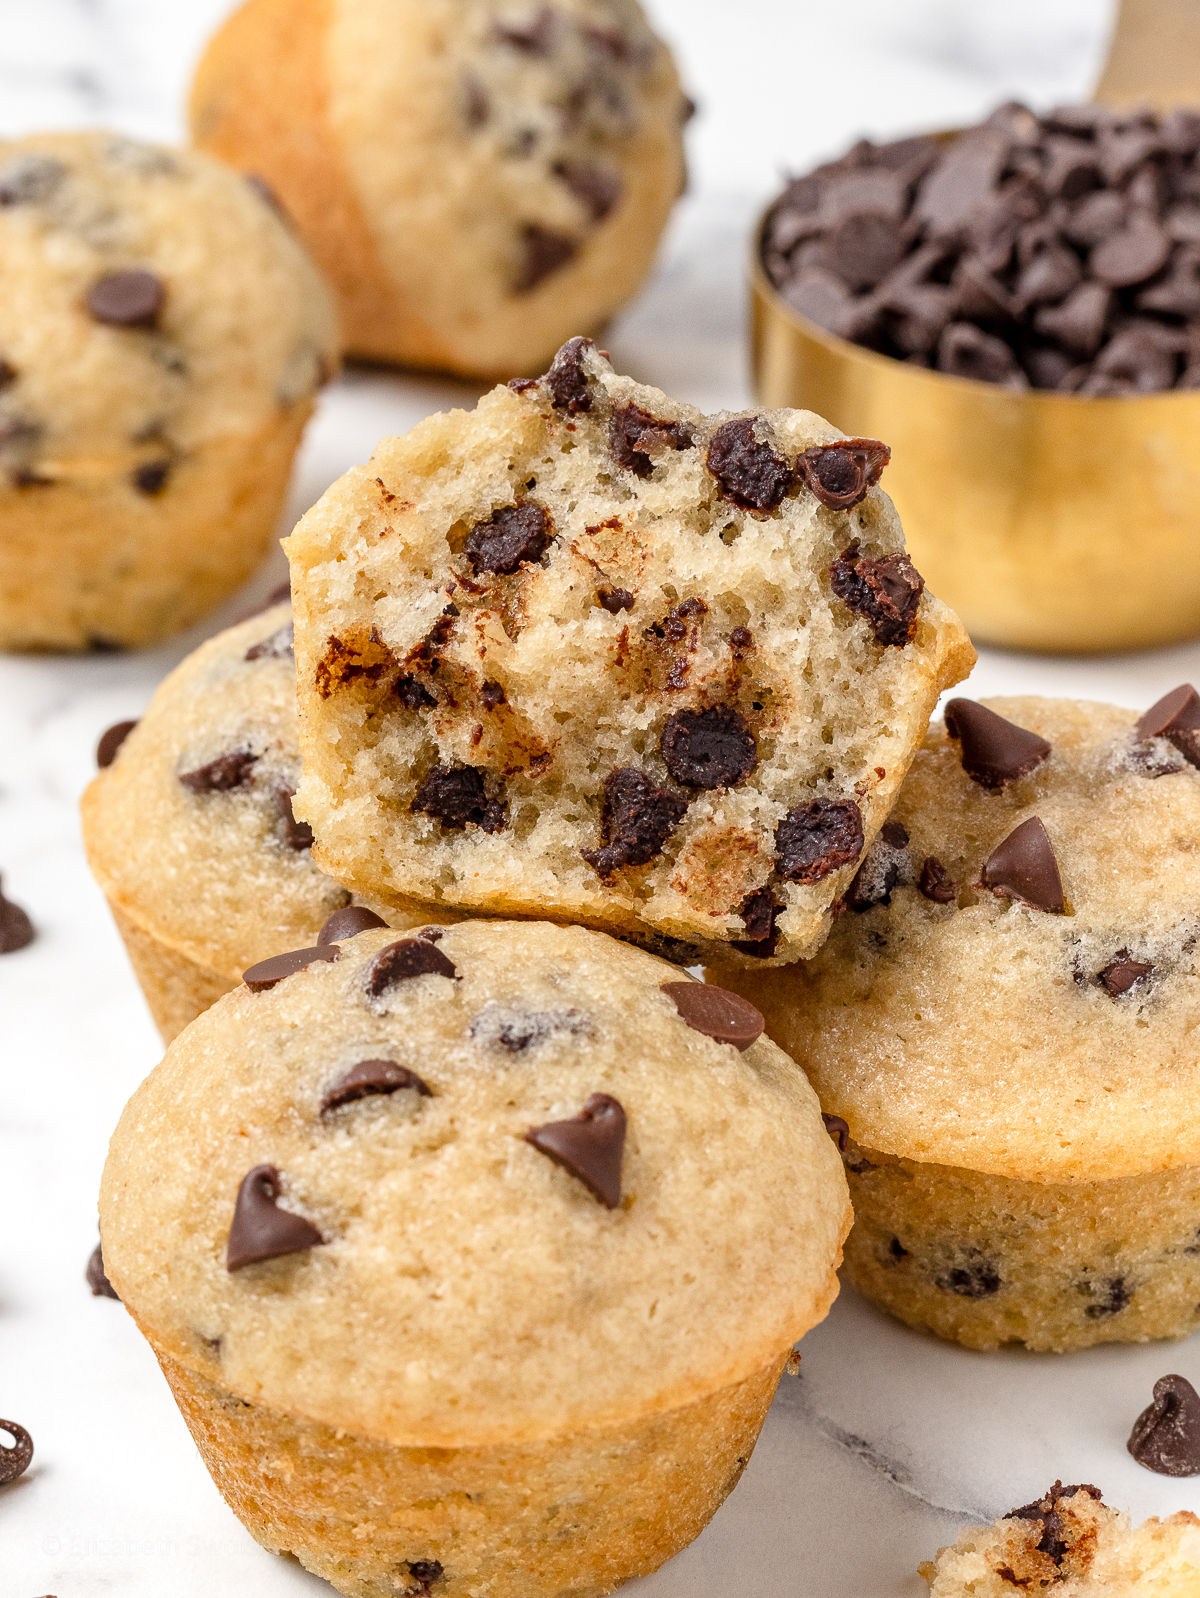
Unpopular opinion, but I prefer mini muffins over store-bought jumbo muffins any day. They are easy to handle, even easier to eat, and much more convenient than carrying around a large muffin. Not to mention, these remind me of the Little Debbie Mini Muffins my mom used to buy us as kids. Yum, nostalgia!
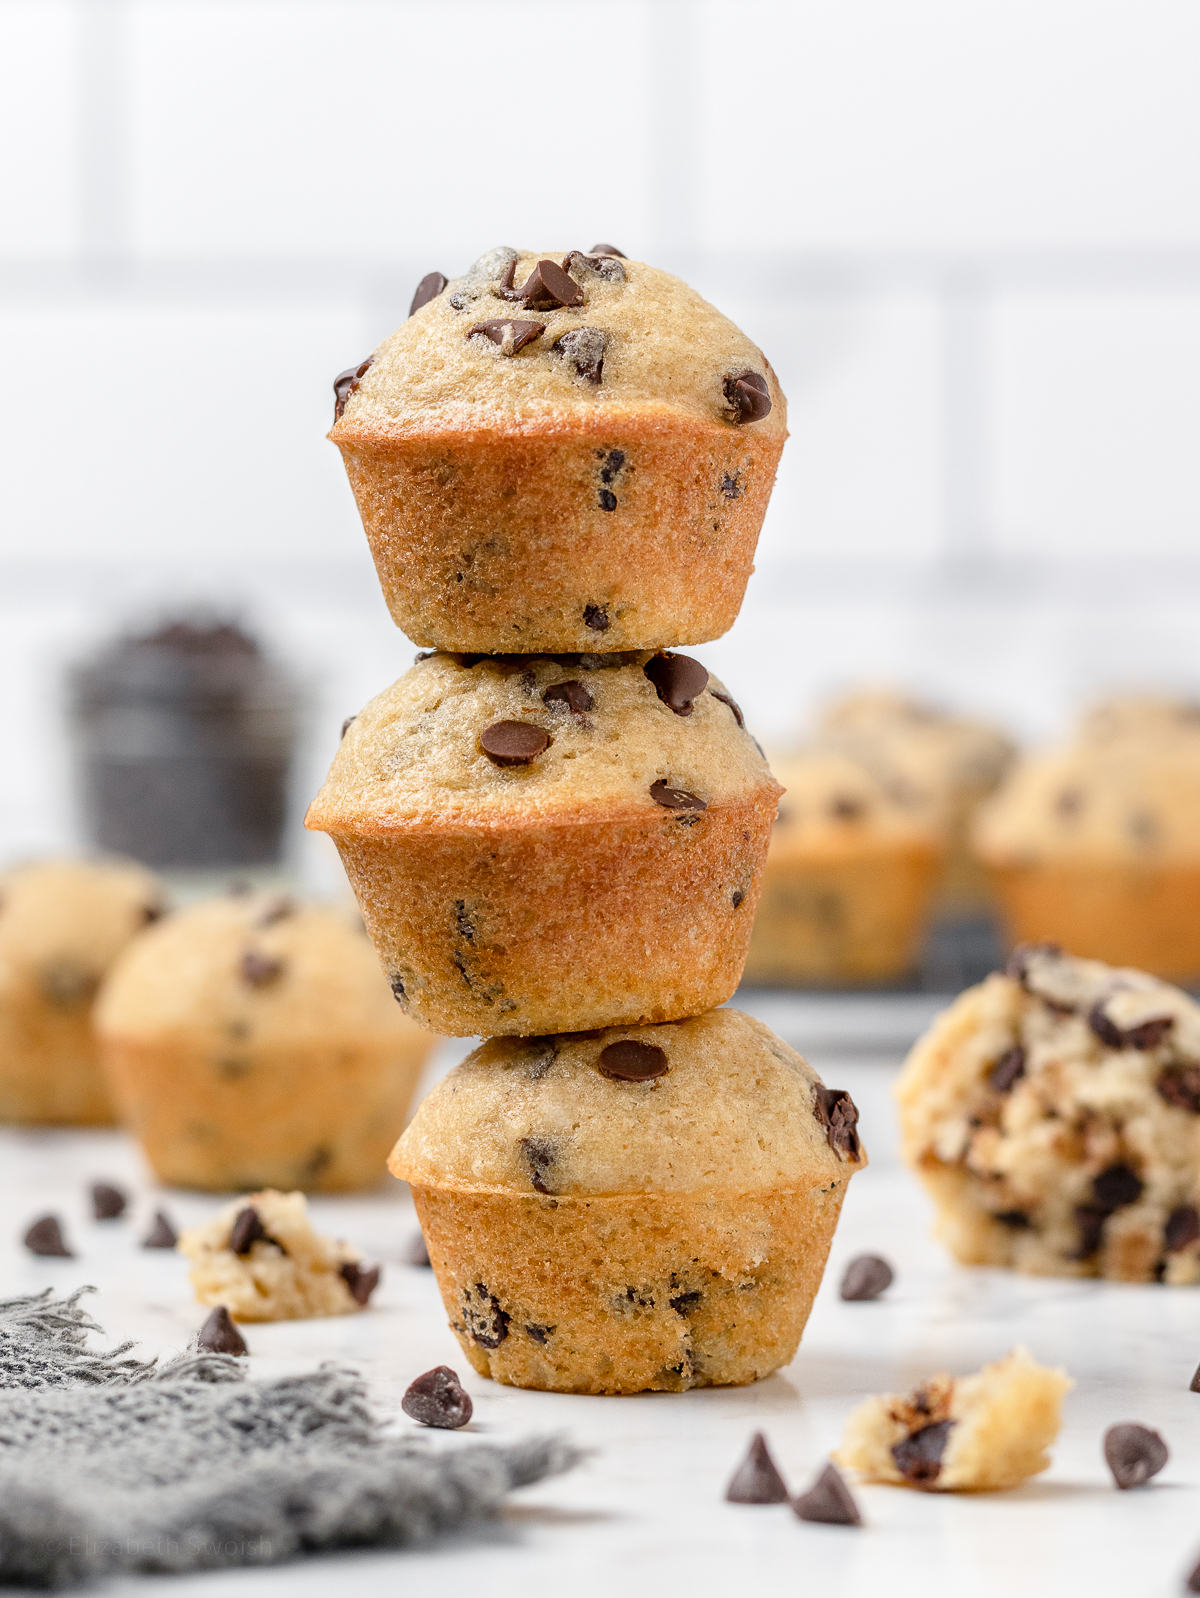
I also have to mention, these Mini Chocolate Chip Muffins are even better than the others. They have a bakery-style texture, are super tall, have a crisp exterior, and are packed with mini chocolate chips. These mini muffins are handmade with all the love and we know exactly what is in them.
Reasons to Love These Mini Chocolate Chip Muffins
- they are made with 11 simple and common ingredients
- makes a large batch of 24 mini muffins (even more if you make them smaller)
- it’s a great baking activity to do with the kids or your love
- they freeze well which makes them great for meal prepping
- a comforting and nostalgic snack that will bring you back to childhood or baking with grandma
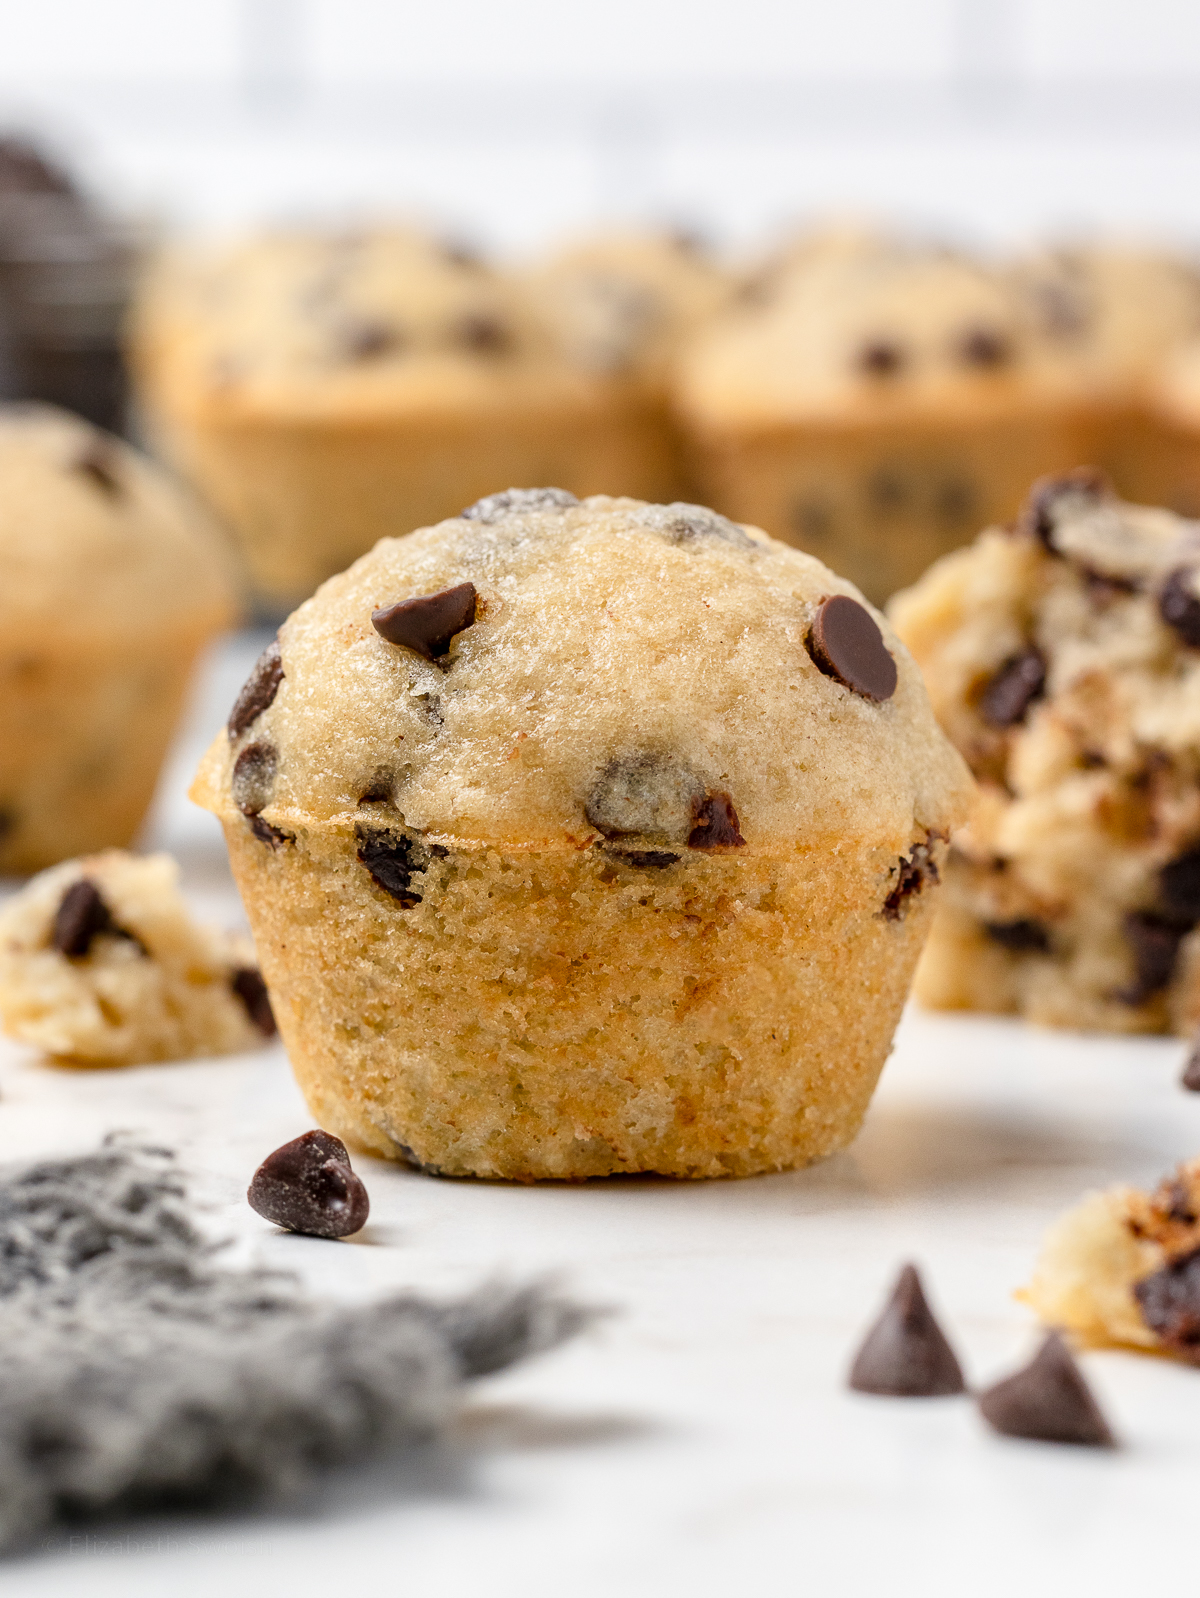
Mini Chocolate Chip Muffins Ingredients
The great thing about mini muffins is the ingredients are simple, and I bet most of them are in your pantry right now! Keep reading for notes on each ingredient with substitutions (if you need them).
Equipment Needed
- Mini Muffin Pan: Use a light silver, 24 cavity muffin pan. If you do not have a mini muffin pan you can also use a standard sized pan. I spray my pan with non-stick cooking spray but if you would rather use mini paper liners, you will need those as well.
- Piping Bag: This is completely optional. I like to use a large, 18 inch disposable piping bag to pipe the batter into the muffin pan. It makes it so much easier and quicker.
- Cooling Rack: I like to use these non-stick steel racks because the muffins don’t stick to them as they continue cooling.

How to Make Mini Chocolate Chip Muffins
1. WHISK TOGETHER THE DRY INGREDIENTS, all-purpose flour, granulated sugar, baking powder, salt, and ground nutmeg. Set aside.
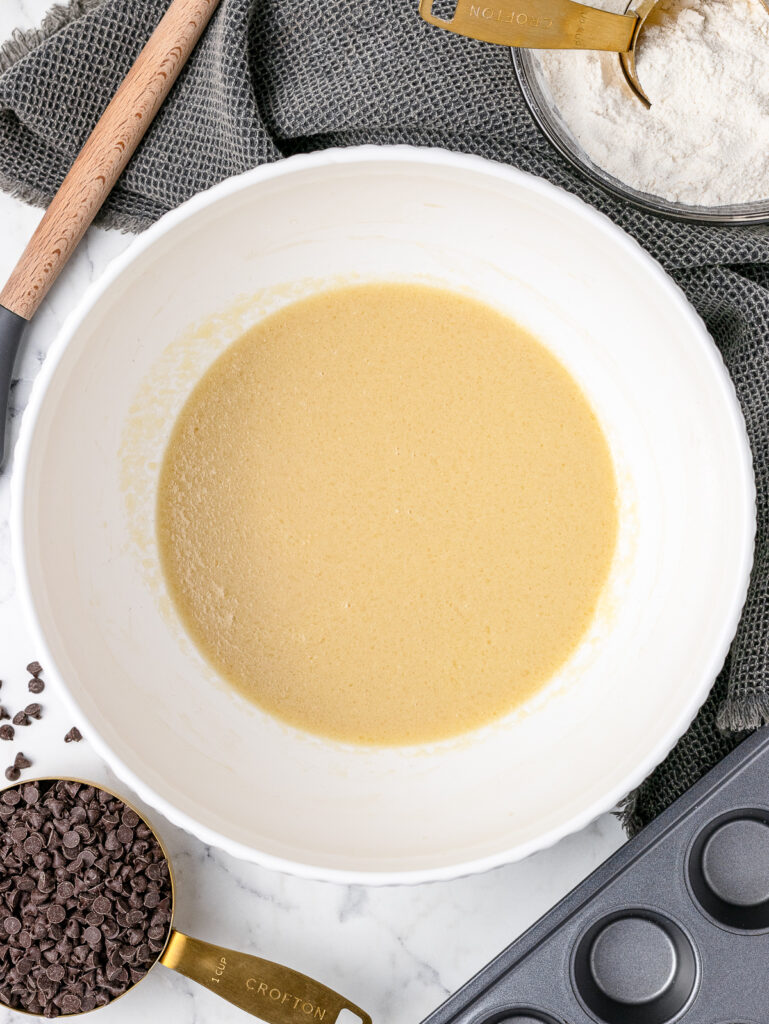
2. BEAT TOGETHER THE WET INGREDIENTS, milk, eggs, vegetable oil, melted unsalted butter, and vanilla extract. Add the dry ingredients and fold together until almost all the flour has been absorbed.
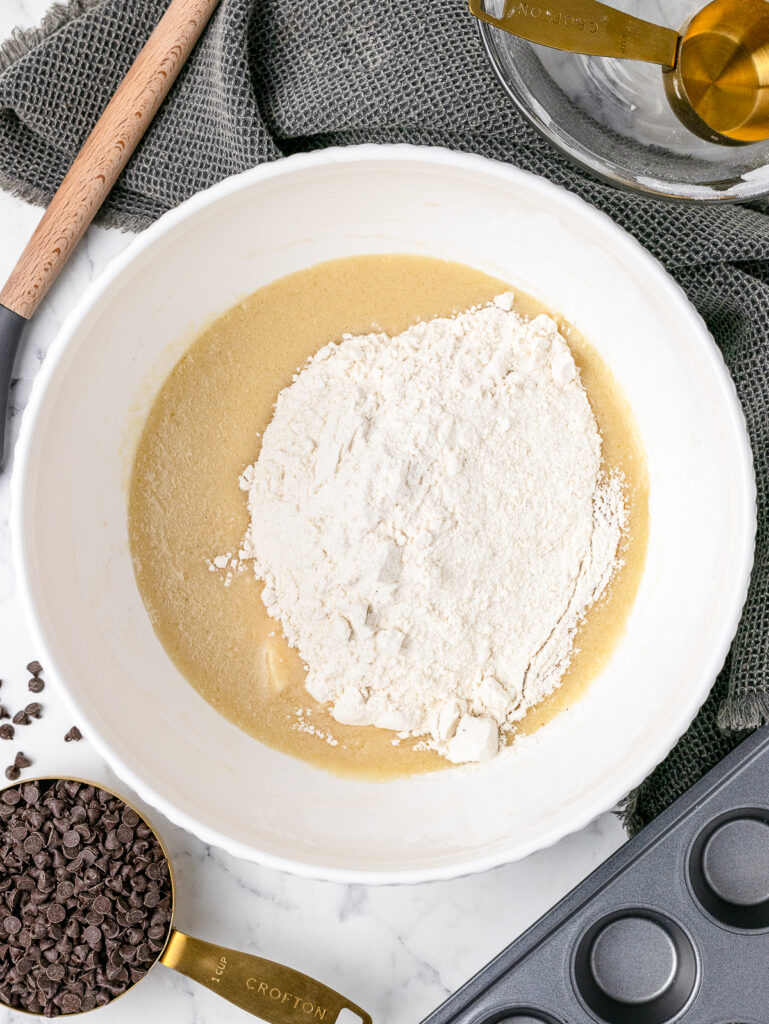
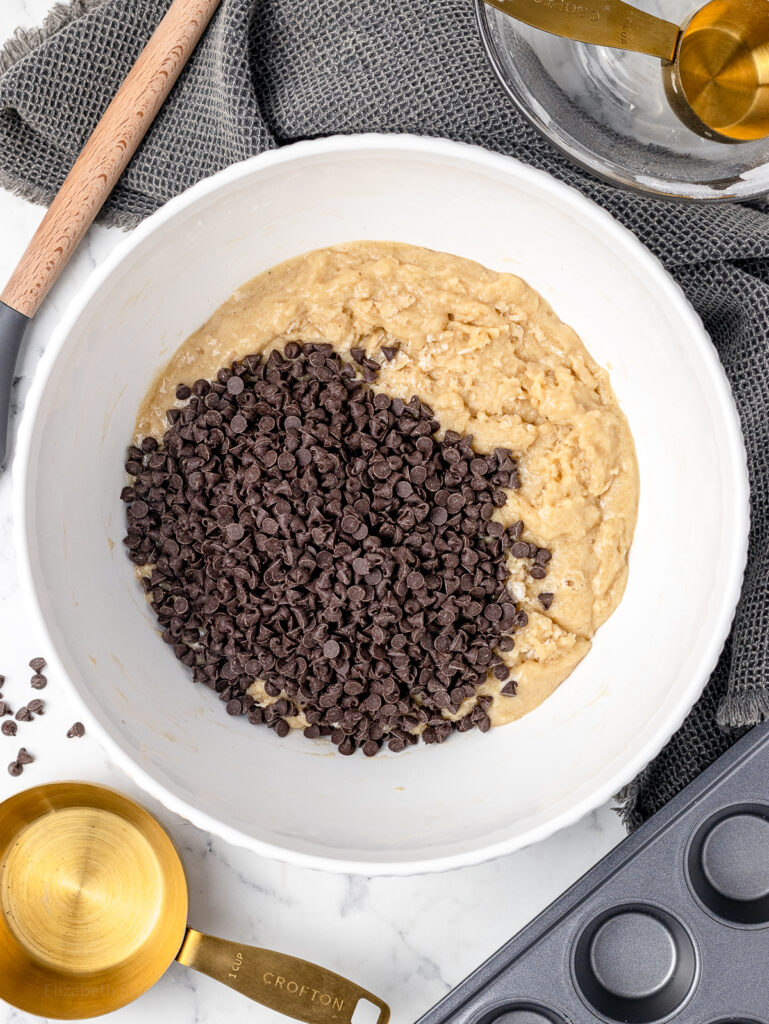
3. FOLD IN THE MINI SEMI-SWEET CHOCOLATE CHIPS until well incorporated. Allow the batter to rest for 15 minutes.
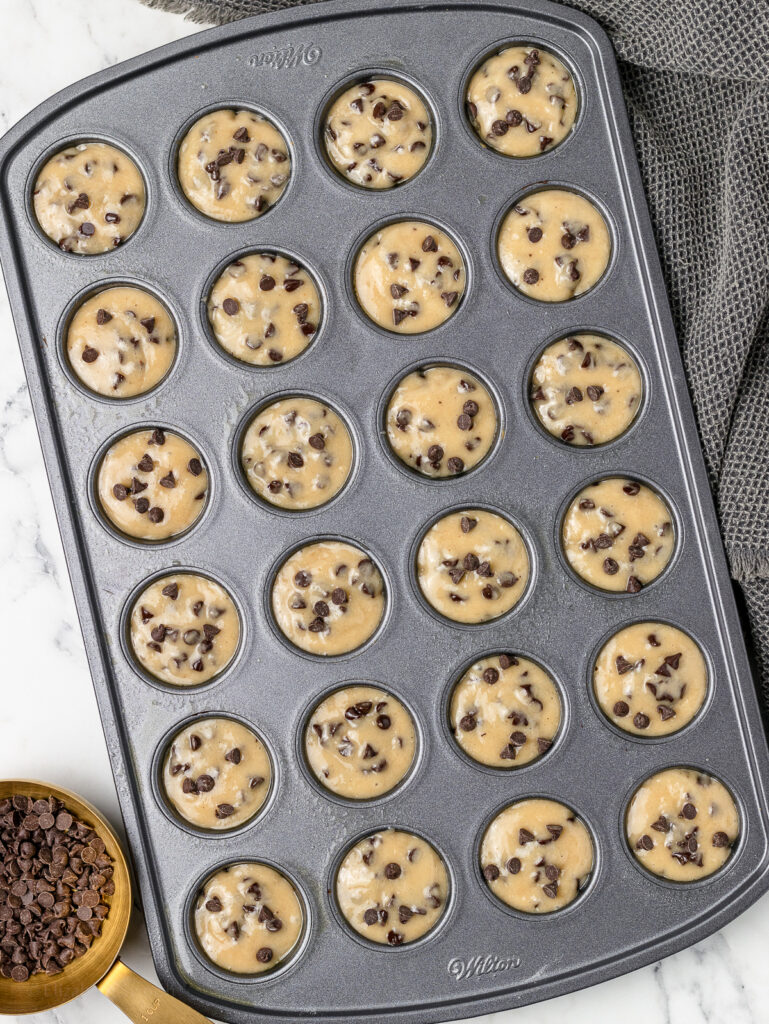
4. DIVIDE THE BATTER into 24 mini muffins (filled all the way to the top). To make this part easier, you can add the batter to a large piping bag and pipe it into the muffin pan like I do.
5. BAKE THE MUFFINS and allow them to cool 5 to 10 minutes before removing them from the muffin pan. Transfer the mini muffins to a wire cooling rack and let them cool completely before enjoying.
Storing and Freezing Information
Always store leftover Mini Chocolate Chip Muffins in an airtight container or bag. At room temperature they are best if eaten within 3 or 4 days, and in the refrigerator within 1 week.
If you are freezing the mini muffins, store them in a freezer bag with as much as removed as possible. They will keep for up to 3 months and can easily be thawed at room temperature or in the microwave.
These are also great for portioning out for meal prepping and snacking. I like to throw 2 or 3 into mini snack sized bags for an easy, grab and go option. I keep mine in the freezer and grab one in the morning. They thaw out and are always ready to eat for my midday snack.

4 Baking Tips for the BEST Mini Muffins
2. DON’T OVERMIX THE MUFFIN BATTER. When you add the dry ingredients and mini chocolate chips, it can be easy to overmix it. This recipe only takes about 20 folds for it to mix all together. And if you’re wondering, over-mixing builds up gluten which will make the mini muffins tough and dry.
3. ALLOW THE BATTER TO REST. This may seem odd, but don’t skip allowing the muffin batter to rest. It only takes 15 minutes and it will make for super tall, crisp on the outside, soft on the inside mini muffins. It makes all the difference in having a mini muffin with bakery-style texture.
4. BAKE THE MINI MUFFINS AT TWO TEMPERATURES. Doing this not only makes your mini muffins tall, but they get a crisp exterior. The initial high heat lifts the muffins quickly and caramelizes the outside. The second temperature allows them to cook through without burning.
Frequently Asked Questions (FAQ’s)

More Muffin Recipes To Try


Mini Chocolate Chip Muffins
EQUIPMENT
- muffin pan - mini size, 24 count
- wire cooling rack - non-stick metal
- piping bag - disposable, 18 inch
INGREDIENTS
- 2 cups all-purpose flour
- ¾ cup granulated sugar
- 2 teaspoons baking powder
- ½ teaspoon salt
- ⅛ teaspoon ground nutmeg
- ½ cup milk - whole, room temperature
- 2 eggs - room temperature
- ¼ cup vegetable oil - or canola oil
- 2 tablespoons unsalted butter - melted and slightly cooled
- 2 teaspoons vanilla extract
- 1 cups mini semi-sweet chocolate chips - plus more for topping
INSTRUCTIONS
- Set oven to 425 °F and center oven rack. Grease a 24 count mini muffin pan with non-stick cooking spray.
- In a bowl, whisk together the dry ingredients: all-purpose flour, granulated sugar, baking powder, salt, and nutmeg. Set aside.
- In a separate large bowl, lightly beat the wet ingredients: milk, eggs, vegetable oil, melted unsalted butter, and vanilla extract.
- Add the dry ingredients to the wet ingredients. Fold until almost the dry ingredients have been absorbed.
- Add the mini semi-sweet chocolate chips and continue to fold until all of the dry ingredients are absorbed. Allow batter to rest for 15 minutes.
- Divide batter equally, filling the cavities to the top. NOTE: The easiest way to do this is by putting the batter in a large piping bag or gallon bag. Snip off the tip and pipe it into the muffin pan.
- Bake for 5 minutes. Reduce heat to 350 °F and continue to bake for another 8 to 10 minutes, or until done. NOTE: The muffins should spring back to the touch and be light brown on top and sides.
- Let the Mini Chocolate Chip Muffins cool for 5 minutes. Carefully remove them and transfer to a wire rack. Cool completely before enjoying.
RECIPE NOTES
Storing Information:
- At room temperature, in an airtight container or bag, for 3 to 4 days.
- In the refrigerator, in an airtight container or bag, for 1 week.
- In the freezer, in an airtight container or bag, for up to 3 months. Thaw at room temperature or in the microwave.
- Feel free to portion out 2 or 3 mini muffins into snack sized bags and store as desired using the recommendations above.
Metric conversions are calculated automatically. I cannot guarantee the accuracy of this information.


