
This post may contain affiliate links, read my disclosure policy for more information. Advertisements displayed do not reflect endorsements or recommendations made by Entirely Elizabeth.
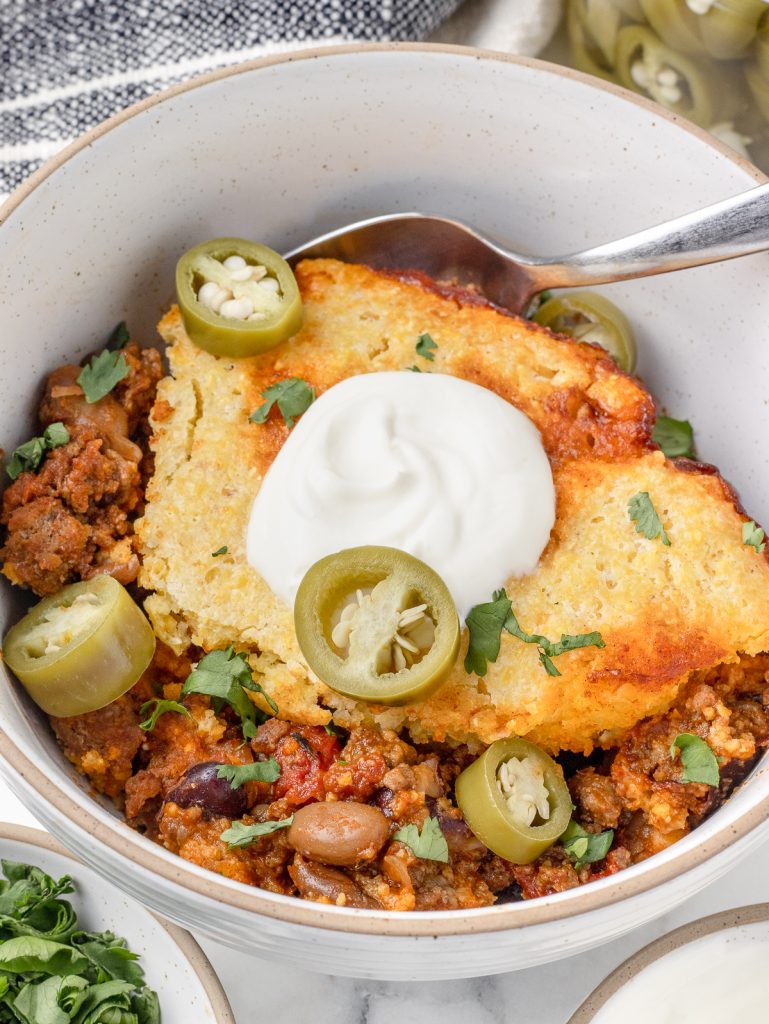
This one pan Cornbread Chili Skillet is easy, delicious, and ready in under an hour. It’s hearty chili topped with homemade cornbread and baked in the oven until golden brown and bubbly.
Serve it up in big bowls with a dollop of sour cream, tangy pickled jalapenos, and fresh cilantro.

I always keep cornbread mix in my pantry because there’s nothing better than chili with warm, buttery cornbread. But I hate doing dishes and I’m not trying to spend my whole evening cooking either. So, one night I thought: “why am I making these separately?” I dumped the cornbread batter right on top of my skillet of chili and baked it all together. Best decision ever!
What makes this so genius is that everything happens in one cast iron skillet. You brown the meat, simmer the chili, top it with cornbread batter, and pop it in the oven. The cornbread bakes up golden while the chili bubbles to a hearty deliciousness, and you only have one pan to wash at the end.
For more chili goodness, try my baked Chili Cheese Nachos.
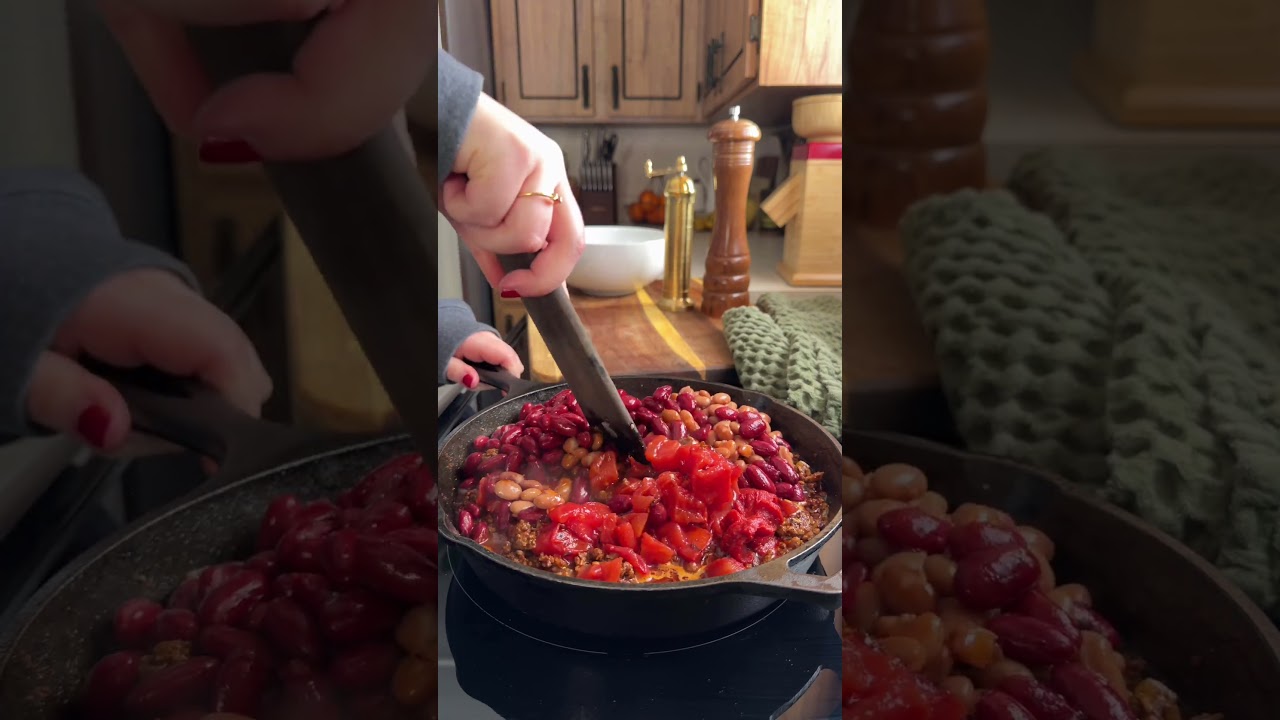
Watch This Quick Video Tutorial
Cornbread Chili Skillet Ingredients
Here’s everything you will need to make this recipe and a few important notes too. Keep reading!
- Ground Beef: I recommend a lean beef, 90/10 or 93/7, so you do not have to drain off excess fat.
- Ground Pork Sausage: This is my secret ingredient in a really good chili. The ground pork sausage has additional sweet and savory spices that really amp up the flavor profile.
- Yellow Onion: Diced into small, even sized pieces.
- Fire-Roasted Diced Tomatoes
- Beans: The classics are red kidney beans and pinto beans, that’s what we will use. Feel free to use dried beans that have been prepared for cooking, or save time by using canned.
- Vegetable Stock: Or broth. I recommend stock because it has more depth and flavor.
- Tomato Paste:
- Chili Seasoning: I use low-sodium, but you can also make homemade chili seasoning or use your favorite brand.
- Garlic Powder
- Salt and Black Pepper
- Cornbread Mix: I recommend using my homemade cornbread mix. But, you can also use 1 small box of store-bought stuff like Jiffy.
- Egg
- Buttermilk: Brought to room temperature. If you do not have buttermilk, make it by combining a 1/2 cup of whole milk and a 1/2 tablespoon of white vinegar. Stir the two together and allow it to sour for atleast 15 minutes.
- Melted Butter: Feel free to use unsalted or salted. I use unsalted so I can control the overall salt level of the dish.
How to Make Cornbread Chili Skillet
1. Make the chili. Brown the meat and onion, then stir in seasonings, tomatoes, beans, stock, and tomato paste. Simmer covered for 15-20 minutes.
2. Mix up the cornbread. While the chili simmers, whisk together egg, buttermilk, and melted butter, then fold in cornbread mix until just combined and lumpy. Pour over the chili and spread into an even layer.
3. Bake and rest. Bake uncovered until golden brown and bubbly. Let the Cornbread Chili Skillet rest 15 minutes before serving with your favorite toppings. We like to add sour cream (or Greek yogurt), my quick pickled jalapenos, and fresh cilantro. Other classics are shredded cheddar cheese, or chopped green onions.
Find the complete recipe instructions with measurements below.

Storing & Freezing Leftovers
Got leftovers? Lucky you! This cornbread chili actually tastes even better the next day once all those flavors have had time to mingle.
For short-term storage, let everything cool to room temperature first. You can either tightly wrap your cast iron skillet in aluminum foil or transfer portions to airtight containers. It’ll keep in the fridge for 4 days. This can also be frozen up to 3 months. Again, let the cornbread chili cool before portioning into freezer-safe containers and freezing. I also recommend labeling it with a date to keep track of it’s expiration.

Helpful Recipe Tips
Customize your chili. Feel free to swap out the ground meats and beans for other types. You can also add diced jalapeno, sweet corn, garlic cloves (instead of garlic powder), bell peppers, or anything else you like in your chili.
Give it time to rest before serving. When this Cornbread Chili Skillet sits for just 15 minutes, it does wonderful things. As chili rests, it thickens up naturally. The starches from the beans and tomato paste continue to break down and bind everything together, giving you that perfect, hearty consistency instead of something soupy. Also, the cornbread has time to finish baking and set up, which is so important.
A tip for the cornbread lovers. Double the cornbread ingredients for a thicker, more substantial topping. The extra height means you might need to bake it an additional 5-10 minutes, so test the center with a toothpick to make sure it’s fully cooked through.

Frequently Asked Questions (FAQ’s)
More Hearty Dinner Recipes You Might Enjoy


Cornbread Chili Skillet
EQUIPMENT
- cast iron skillet - 10-inch
INGREDIENTS
- ½ pound ground beef - lean, 90/10 or 93/7
- ½ pound ground pork sausage
- ½ yellow onion - diced
- 1 packet chili seasoning - low sodium
- 1 teaspoon garlic powder
- salt - to taste
- black pepper - to taste
- 1 14.5 ounce can fire roasted diced tomatoes
- 1 14.5 ounce can red kidney beans - drained, but not rinsed
- 1 14.5 ounce can pinto beans - drained, but not rinsed
- ¾ cup vegetable stock
- 2 tablespoons tomato paste
- 1 cup self rising cornbread mix - homemade or store-bought (like Jiffy)
- 1 egg
- ½ cup buttermilk
- 3 tablespoons unsalted butter - melted
INSTRUCTIONS
- Preheat oven to 425 °F.
- In a 10-inch cast iron skillet, brown the ground beef, ground pork sausage, and finely diced onion over medium-high heat until fully cooked. Drain excess fat if needed. Stir in the chili seasoning, garlic powder, salt, and black pepper, and cook for 1 minute to bloom the spices.
- Add the fire roasted diced tomatoes with juice, drained red kidney beans, drained pinto beans, vegetable stock, and tomato paste. Stir until combined and bring to a boil.
- Reduce heat to medium-low, cover, and allow the chili to simmer for 15 to 20 minutes.
- While the chili simmers, make the cornbread. In a medium bowl, whisk together the egg, buttermilk, and melted butter. Add the self-rising cornbread mix and fold just until combined and lumpy.
- Remove lid on the chili and turn off stove-top. Scoop and drop the cornbread batter overtop of the chili, and spread it gently to cover the surface. Transfer skillet to the oven and bake uncovered for 15 to 20 minutes, or until the cornbread is golden brown and a toothpick inserted in the center comes out clean.
- Remove from the oven and allow it to rest 15 minutes before serving. Top individual portions with sour cream or Greek yogurt, quick pickled jalapenos, cilantro, shredded cheddar cheese, or green onion, if desired.
VIDEO
RECIPE NOTES
- No skillet? Make the chili in a pan and then pour it into a greased baking dish. Top it with the cornbread and bake as specified.
- Customize your chili. Feel free to swap the ground meats and beans for other types. You can also add diced jalapeno, sweet corn, garlic cloves, or bell peppers.
- For the cornbread lovers. Double the cornbread ingredients for a thicker more substantial topping.
STORING INFORMATION
- Refrigerated, skillet wrapped in aluminum foil or in an airtight container, for up to 4 days.
- Frozen, in a freezer-safe airtight container, for up to 3 months.
- Reheat in the microwave until hot. Or reheat in the oven at 350°F for 20 minutes, or until hot.
Metric conversions are calculated automatically. I cannot guarantee the accuracy of this information.

